
Installation
Install STG Vehicle Shop 2 on your FiveM server in five steps, including images for add-on vehicles.
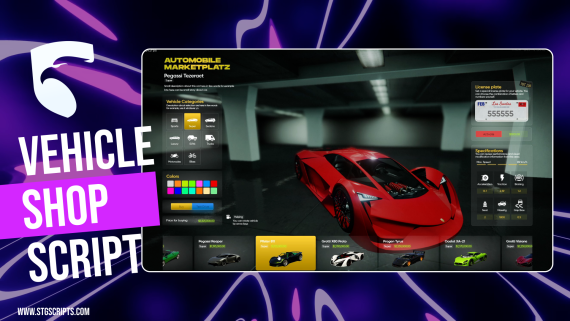
STG Vehicle Shop 2
Download the script
Sign in to the Cfx.re portal with the account you used at checkout and download stg-vehicleshop from Granted Assets.
Move the resource
Extract the zip and place the stg-vehicleshop folder inside the [STG] category folder in your resources directory.
resources/
└── [STG]/
    └── stg-vehicleshop/
Install the dependencies
Vehicle Shop 2 needs ox_lib and oxmysql. Skip this step if your server already runs them.
Bought vehicles are saved to your framework's own vehicle table, so they show up in your garage script: player_vehicles on QBCore and QBOX, owned_vehicles on ESX.
Add images for add-on vehicles
The vehicle cards show a picture from stg-vehicleshop/html/images/vehicles/. Images for 815 base game vehicles are included. For an add-on vehicle, add a .png named after its spawn name, for example mycar.png. The included images are 640 x 360. See Vehicles and Categories for adding the vehicle itself.
Start the script
Make sure [STG] starts after your framework, oxmysql and ox_lib in server.cfg:
ensure oxmysql
ensure ox_lib
# your framework: es_extended, qb-core or qbx_core
ensure [STG]
Then restart the whole server.
Nothing happens or the console shows an error? See Common Errors.
Next steps
Configuration
Shops, plates, test drives, keys and fuel
Vehicles and Categories
Add vehicles, categories, images and new shops
Dependencies
What needs to start before Vehicle Shop 2
Still having trouble?
Open a ticket on our Discord. Our team answers around 15 hours a day.
Vehicle Shop 2
A showroom vehicle shop for cars, boats, helicopters, planes and job vehicles, with live stats, colors, custom plates and timed test drives.
Configuration
Every option in STG Vehicle Shop 2 config.lua, from shops, NPCs and cameras to plates, test drives, driving licenses, vehicle keys and fuel.